Understanding Flashing in Roofing: A Key Component for Leak Prevention
Roof flashing is one of those components that doesn’t get much attention until something goes wrong. It’s the thin metal material installed at joints and transitions on your roof to keep water out. Any trusted roofing company will tell you that proper flashing makes the difference between a dry home and a leaky one. This post covers the types of flashing materials, where they’re installed, signs of problems, and how to keep them in good shape. Understanding flashing helps you catch issues early and protect your home from water damage.
Importance of Roof Flashing
Roof flashing plays a big role in keeping water out and maintaining your building’s structure. It directs water away from vulnerable areas such as joints, chimneys, skylights, and vents. The flashing creates a watertight seal between your roofing materials and these weak points, preventing water infiltration. Without proper flashing, water can seep into the building, damage the interior, cause mold growth, and weaken the overall structure. Regular inspections and maintenance keep the flashing doing its job and protect your home from water damage for years to come.
Types of Flashing Materials
Different roofing systems need specific flashing materials to protect vulnerable areas from water. The most common options include galvanized steel, aluminum, copper, and lead. Galvanized steel offers durability at a reasonable price, making it popular for many jobs. Aluminum is lightweight and easy to handle, though it’s more prone to corrosion than other materials. Copper holds up well over time and develops a protective patina as it ages. Lead is flexible and long-lasting, making it a good fit for detailed flashing work. Each material has its own strengths, so roofers pick the best option based on what the roof actually needs.
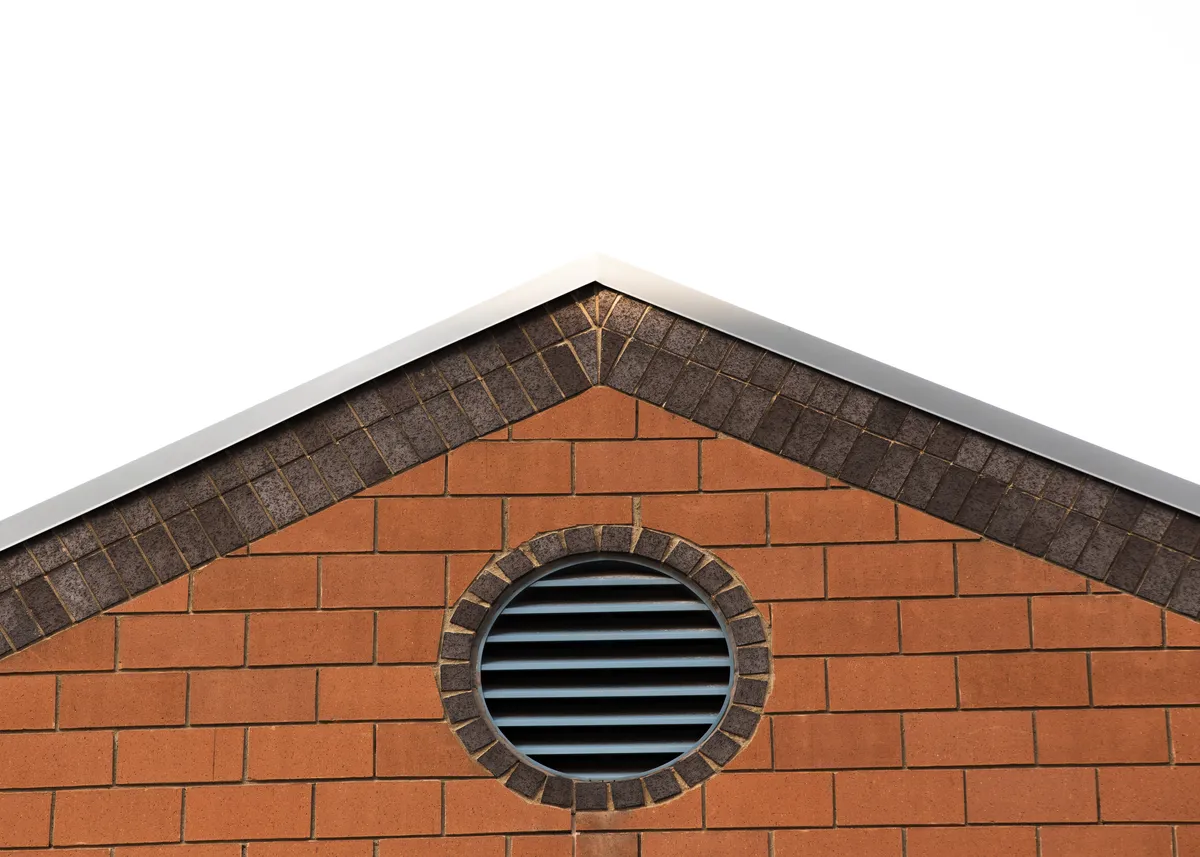
Common Flashing Locations
When checking a roof for flashing installation or repair, you need to know where water problems are most likely to pop up. The most common spots include roof valleys where two roof planes meet, around chimneys, skylights, dormers, and vent pipes. These areas tend to collect water and let it in because of their shape and exposure to the weather. Sidewalls, rakes, eaves, and where the roof meets a vertical wall also need carefully installed flashing to prevent leaks. Knowing these common locations helps ensure a watertight system that actually protects your home.
Signs of Flashing Issues
You can spot flashing problems by looking for water stains on ceilings or walls near common flashing points, such as roof valleys, chimneys, skylights, and vent pipes. These stains point to potential problems that could lead to leaks and water damage if you don’t address them. When checking for flashing issues, look for:
- Rust or corrosion on the flashing material
- Loose or missing flashing pieces
- Visible gaps between the flashing and the roofing material
Regular inspections and quick repairs keep your flashing intact and prevent water from entering your home. If you notice any of these signs, have a professional roofer inspect and make the necessary repairs.
Proper Flashing Installation Techniques
Checking for flashing issues only goes so far without understanding how to install it right. Flashing pieces should overlap by at least 4 inches to stop water from getting through. Apply sealant generously, but don’t go overboard too much can trap water rather than keep it out. Flashing needs to fit tightly against vertical surfaces and stay secured with nails or screws. Making sure the flashing integrates properly with your roofing material creates that watertight seal you’re after. Using materials that resist corrosion and weathering keeps everything working for the long haul. Following these techniques cuts down the risk of leaks and extends the life of your roofing system.
Maintenance Tips for Flashing
Regular maintenance keeps your flashing effective over time. Checking and maintaining your flashing can prevent costly leaks and water damage. Here are the main maintenance tips:
- Clean Regularly: Clear away debris and dirt to prevent blockages and corrosion.
- Check Seals: Ensure all seals are intact, and reseal any areas that show wear or damage.
- Inspect for Damage: Check your flashing regularly for cracks, rust, or loose sections, and fix problems promptly to keep it doing its job.
Related Topics: